The best vocal recording tips and vocal recording techniques are not what you may expect.
Because of technology, it doesn’t matter where you are recording vocals.
I have recorded vocals in the middle of a room, in a hallway, bedroom, practically anywhere and always end up with great results.
Here are some Vocal Recording Tips and Techniques that will dramatically improve your vocal recording quality and give you the same results:
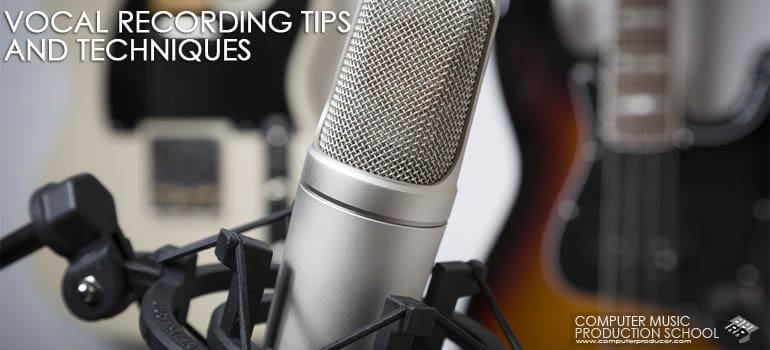
The secret is having a hardware preamp, hardware compressor and a condenser mic. They don’t need to be expensive. From there, have a popper stopper about 2″ away from the mic and make sure the vocalist is always an inch from the popper stopper. By using this method, you can record vocals anywhere so that you capture that great performance. This gives you the option to be creative and inspired anywhere the creative vibe chooses you. After everything is recorded, then you add compression, maybe some limiting and EQ to boost them just right.
The goal is to make sure you get the hottest recording signal level without clipping or any vocal distortion. Many clients who sent us their project to mix have vocal recordings that are distorted, noisy or clipping. Something ‘just wasn’t hitting’ but they couldn’t explain it. The goal is to have the preamp input set to where no clipping can happen on the input, through the compressor and into the recording system. Once that was explained to the client, they re-recorded the vocals and the mix and master came out great.
If you use a mic directly plugged into an interface, you don’t get enough volume and end up with a lot of noise. When the signal gets compressed after recording, more noise is heard while increasing the volume of the vocal.
When using a preamp and compressor while close miking the vocals, you’re getting nothing but voice. In most sound proofed rooms, they don’t close mic but instead get the room sound in the recording with the vocalist sometimes a foot away from the mic and many others in the same room too. This works and sounds great but its not the only way to get a great vocal sound.
On a final note, I do not recommend USB mics. While having a USB mic is a great advantage, if the mic doesn’t have an XLR connection to use with the preamp and compressor, don’t go for it. The limitation is not worth the investment. For the condenser mic, what to look for is a mic that has the hi pass filter on it and then the 3 recording modes – Directional, Omnidirectional and Figure 8. Getting a mic with all these features will give you advantage in any recording situation to get the best results for minimal price.
Presonus makes some of the most affordable and great sounding mic preamp and compressors for next to nothing. These are great to start with at any level. I also recommend Art too. The main difference between inexpensive and overpriced compressors and preamps is this: inexpensive units do their work. They process the sound, boost it, add warmth and are very transparent – what you hear is what you get. Expensive units add a ‘sheen’ to it. They ‘color’ the sound in a way that only that specific piece of gear can. At the end of the day, having that ‘sheen’ is great but really, if the vocals are crisp, clear and the performance is on it, thats all that matters. Music is getting released way too fast to get hung up on validating your music by what equipment is used..
Here are a few inexpensive options to start practicing this vocal recording tutorial.
Single Channel:
$100 PreSonus Comp 16 mic compressor
$100 PreSonus TubePre mic preamp
Dual Channel:
$179 ART TPSII 2 Channel Preamp
$289.95 ART MPA Gold Mic Preamp (2 channel digital ins and outs)
$399.95 DBX 1066 Dual Compressor Limiter Gate (2 channel)
Tutorial: Vocal Recording Tips and Techniques
1) Research a hardware mic preamp, mic compressor and condenser mic in your price range. You can always upgrade later down the road but having this combination will make a HUGE difference at any level.
2) Benchmark your mic recording setup. Test the settings, tweak the preamp and compressor with one vocalist until you get a good solid sound consistently. Afterwards, test 1-2 different vocalists to make final tweaks.
If you need specific details on vocal recording and settings, setup a free training consultation below.